Recently, LeakTronics took on a plumbing leak detection job on a big residential property for a high-end property in Southern California. This enormous property includes three buildings and an irrigation system.
Despite the extent of the property, our Plumber’s Complete Leak Detection Kit enabled us to isolate the correct building and identify the source of the leak.
Want to find out how? Keep reading to learn exactly how we used this kit and how you can, too.
What’s in the Plumber’s Complete Leak Detection Kit?
Before diving into the steps we took to identify the leak, let’s quickly cover what the Plumber’s Complete Leak Detection Kit includes. In this kit, you will find:
- The LT-1000 Amplifier: LeakTronics patented leak detection amplifier, designed to power all LeakTronics listening equipment.
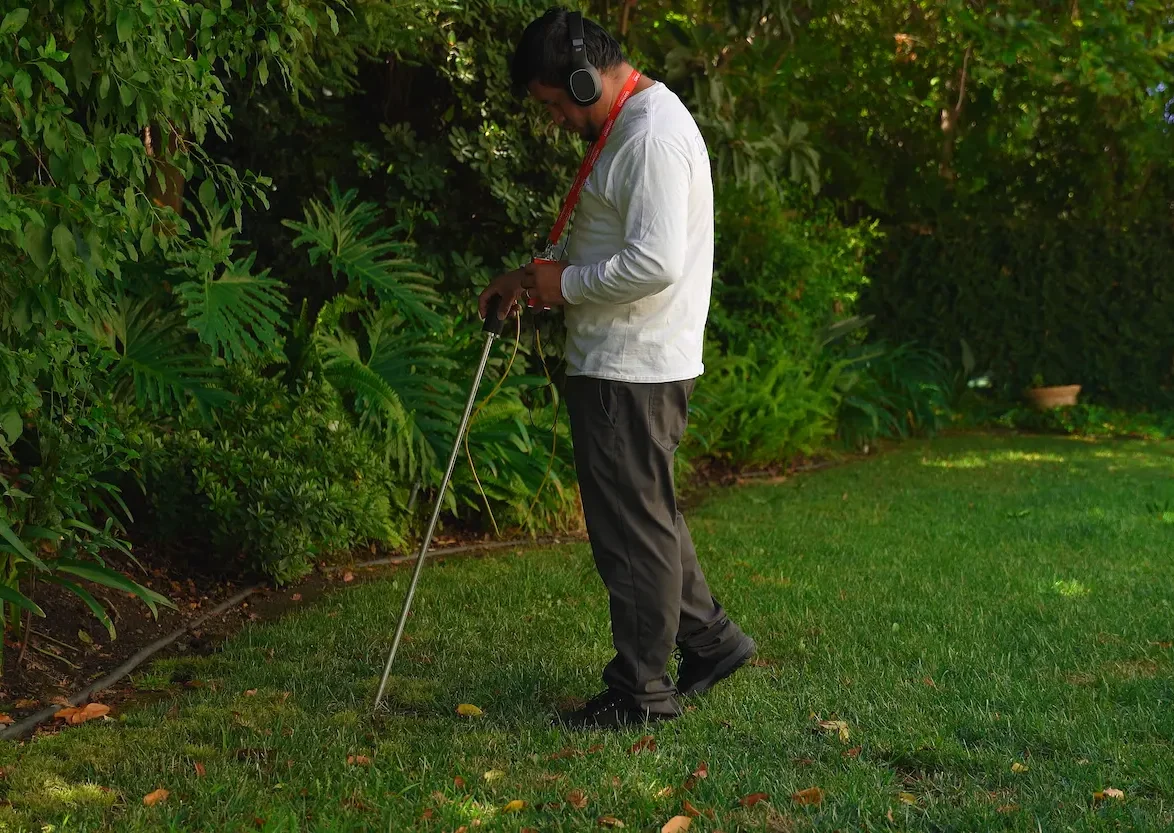
- The Multi-Purpose Pipe Probe: The Probe is a tool for listening under the soil, aggregate, and directly on pipes. It is designed to locate standard pressure or pressurized leaks in the grass, rocks, or any type of porous material.
- The Soft-Sided Listening Disc: This tool helps us get to hard-to-reach locations and handle delicate surfaces. It pairs with the pressure rig for easy leak identification.
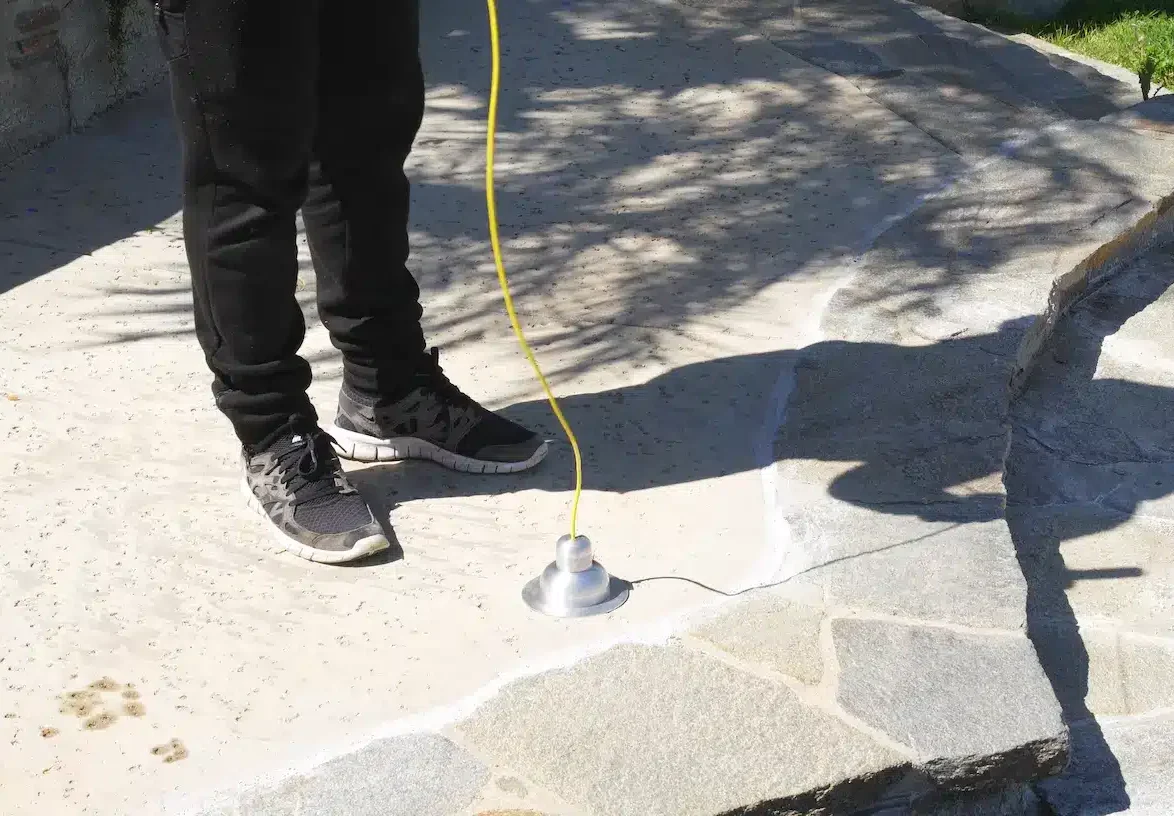
- The Deck Plate: The Deck Plate uses advanced noise filtering technology to pinpoint leaks through concrete, brick, or any other solid surface upwards of 5 feet or more in-depth.
- The Pressure Rig and Compression Plugs: The kit comes with a pressure rig and an assortment of compression plugs for testing pressure in a line using water, air, or both. The mix of water and air creates a distinct boiling sound, while air only produced a hissing sound. The compression rig can be used on PVC, Copper, PEX, Galvanized, Poly, or any type of old concrete or clay pipe.
Along with these supplies, the kit also includes noise-reducing headphones, a pressure drop gauge, and a plumber’s kit technical manual (PDF).
Plumbing Leak Detection On A Big Residential Property
As stated, the property consists of three buildings and an irrigation system. Our first step before using any of the kit tools is to first isolate which building is the source of the leak.
Using our meter, we shut off the water to each building until the meter stopped. Through this process, we identified that the third building — a gym-arcade combo — is where the leak originated.
Knowing which building we need to focus on, our team then walks the perimeter of the outdoor area all around the building looking for any potential water sources (hose spigots, hose bibs, etc.). We find where the plumbing is entering the building and confirm that it does not feed water to the irrigation system.
After confirming the leak is not on the building’s exterior, it’s time to move inside.
Searching for the Leak Indoors
Once in the building, we stick to the righthand wall and begin walking the interior perimeter. Using the Probe from the kit, we are looking and listening for any signs of a leak.
While scanning the interior, we are considering all potential leak sources, including appliances that may no longer be in the building. Working our way through the arcade and into the gym room, we finally arrive at the bathroom, where we discover the leak.
After touching the angle stop valve with the Probe, we hear the tell-tale sound of a jet stream — we have found the source of the leak.
To ensure there are no additional leaks to contend with, we finish our walk of the interior perimeter before continuing the process of locating the bathroom leak.
Main House
Guest House
Gym and Arcade Room
Using the Pressure Rig to Confirm the Leak Source
From the exterior of the building, we hook up our Pressure Rig to the plumbing that leads directly into the bathroom. On the ground beneath this area, we notice there is full saturation, meaning this leak has been occurring for a while.
With the Pressure Rig connected, this becomes a two-man job — one person goes inside to listen with the Deck Plate to listen for the leak, while the second person pumps air into the plumbing using the Rig.
Using the Pressure Rig, we confirm that the leak is coming from around the toilet due to a distinct boiling sound that can be heard with the Deck Plate.
And with that, we have successfully found and confirmed the leak.
Final Thoughts: Get the Plumber’s Complete Leak Detection Kit Today
The Plumber’s Complete Leak Detection Kit makes finding leaks a breeze. With the help of this kit, we were able to diagnose the leaking problem at this property and get to work fixing it.
Along with all of the supplies included in the kit, you also receive:
- Unlimited Customer Support or 5-Year Extended Warranty
- Two-Year Limited Warranty
Visit the LeakTronics website today to shop all of our plumbing leak detection equipment or to snag your own Plumber’s Complete Leak Detection Kit today. You can also watch detailed demonstration videos about using our equipment on our YouTube channel.


