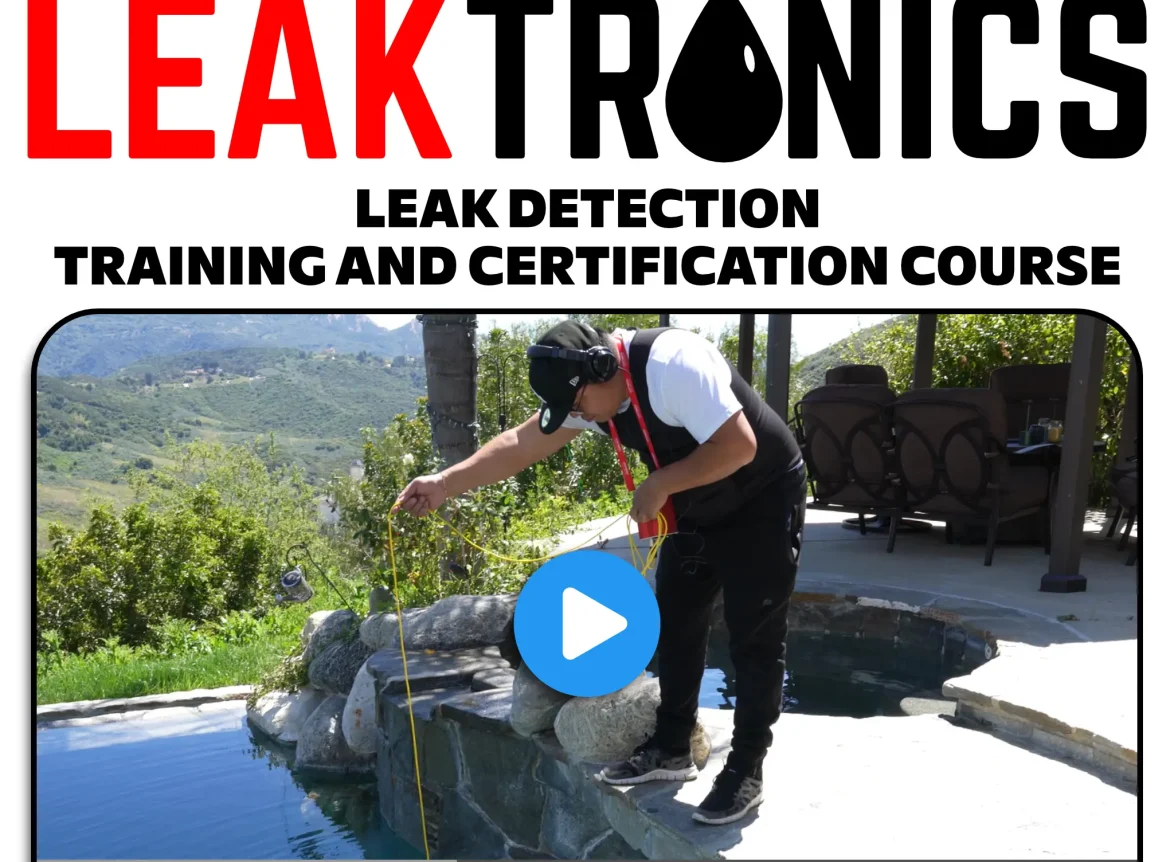
Plumbing and slab leaks can be difficult to find but having the right know-how and proper equipment can definitely make the process easier, faster, and still be accurate. Check out our quick guide on how to easily find slab leaks and learn more about how LeakTronics’ leak detection equipment and training course can help.
Use LeakTronics Plumbers Kit to Easily Find Leaks
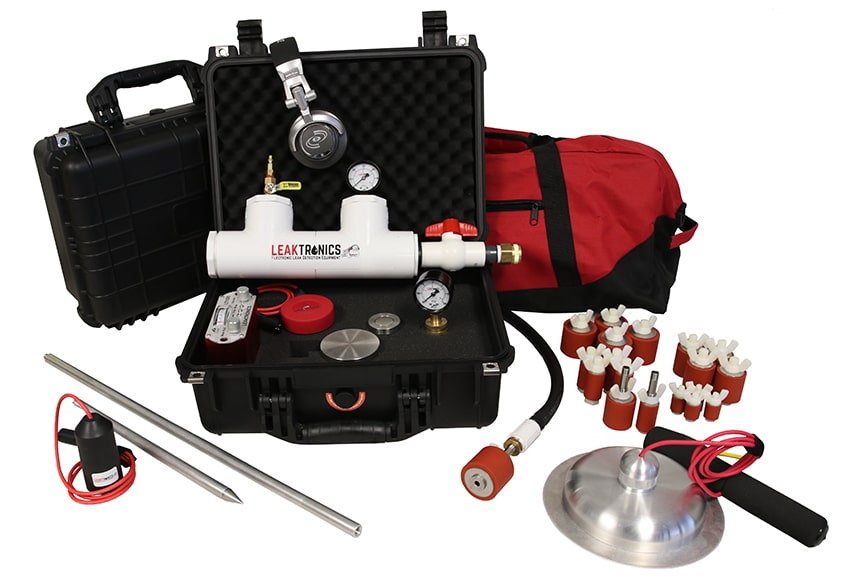
Our Plumbers Complete Leak Detection Kit is state of the art and perfect for detecting slab and plumbing leaks. The components in the kit have been thoughtfully put together and allow the user to locate leaks behind walls, cabinets, slabs, soil, and landscape areas all without being invasive. Listening is key and our state-of-the-art components built with Phantom Power make locating leaks easy.
Our LeakTronics Online Plumbing Leak Detection Course
We have many videos available, however, if you want a detailed training course to learn to locate leaks in plumbing lines, then check out our Plumbers Leak Detection Training Course.
How to Easily Locate Slab Leaks
To properly detect a slab leak, start by following these simple steps:
- Start by using our Plumbers kit. This kit is made specifically to help leak detection specialists hear leaks under slabs in residential or commercial properties. Imagine as if you are removing the structure off of the slab, so that you can listen for the leak at all the points of entry.
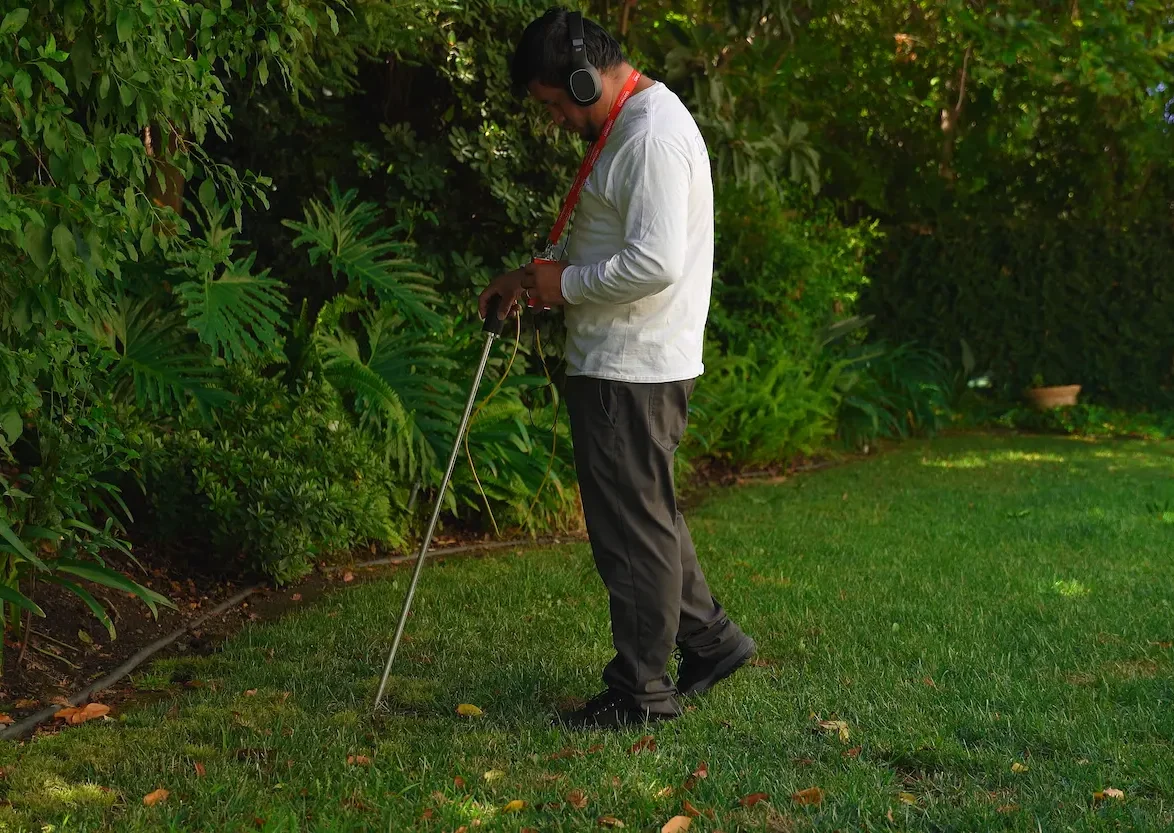
- Using the Pipe Probe, you’ll want to listen to the pipe by touching it at all points of entry, including the washer and dryer, toilets, sinks, wet bars, irrigation entry points, and anywhere that a line stubs out of the ground. Metal pipes in most plumbing systems will transfer sound.
- From there, isolate the house from the meter. Go to the shut-off and turn off the main at the house. If the meter stops running, you’ll know that the leak is further back from the shut-off. If the meter stays running, then you’ll know that you have a leak between the meter and the shut-off itself.
- The next thing you’ll do is open the main backup in order to have the leak occur when you’re listening. Walk the property systematically and stay on the outside perimeter of the house.
- While walking the perimeter of the property, touch any stub ups that you might see.
- Now, walk the inside perimeter on the outside of the house. The goal here is to touch as many metal stub ups with your LeakTronics Pipe Probe as possible in order to hear those leaks.
- Go into the house and continue the pipe-touch process. If there are any rooms that aren’t accessible, ask the home or business owner to make them accessible. You’ll need to be able to get in, take a look, and touch every pipe available so that you can make your determination and actually hear your leak.
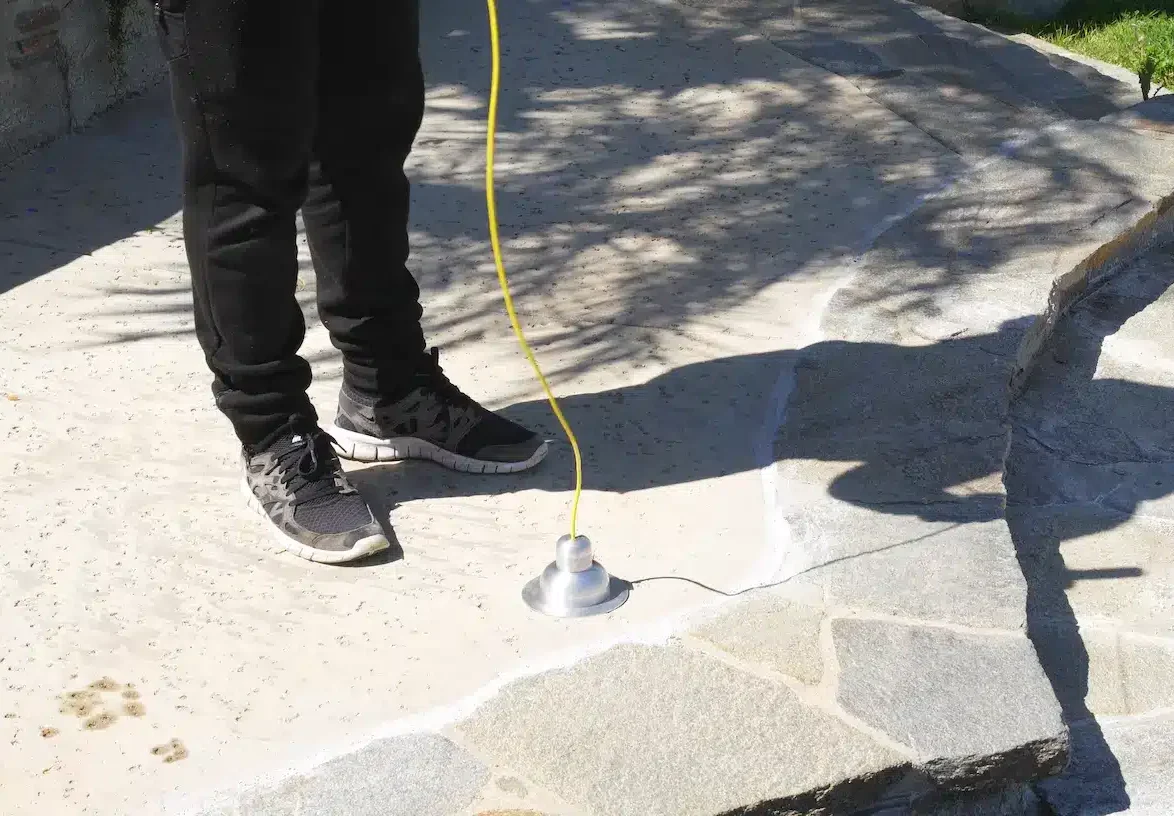
- After the leak is heard, inject air into the easiest point of access without having to cut any pipes. Then, listen with the Soil Probe and Deck Plate for the distinct boil of the plumbing leak. Doing this step further verifies the location of the leak. Once you hear that boil with your deck plate, soil probe, or soft-sided listening device, you can then mark your location.
- Congratulations, you’ve found your slab leak! Remember to always check your meter after doing a leak repair to make sure there are no other leaks in the house that could be contributing to the problem.
Get in touch with the LeakTronics team to learn about our leak detection equipment and training courses. You can also check out our YouTube channel for more real-life demonstrations of various leak detection jobs and repairs.